Introduction to SEM
This laboratory is designed to introduce the Hitachi S-3500N Scanning Electron Microscope. You will investigate methods for sample preparation and look at the effects of condenser lens strength. In this initial laboratory, the methods for basic operation and alignment of the instrument will be covered. The purpose of this lab is to familiarize you with the standard operation of the SEM and general facility practices.
As you know from the class, SEM merely provides the means to generate and analyze myriad signals generated from electron-specimen interactions. Of all these signals, the most prolific imaging signal is from secondary electrons (SEs). Much of the imaging in this and many other labs will be done by imaging the SE signal in SEM.
Objective:
By the end of this laboratory session, you should be able to:
1. Prepare and mount both conductive and insulating samples for examination.
2. Start and align the Hitachi S-3500N SEM and explain the effects of the alignment upon the imaging conditions.
3. Increase the resolution of the SEM image through the use of the condenser lenses and explain the optics behind this increase.
Specimen Preparation:
Since SEM imaging involves bombarding a material with an electron beam, the surface of the sample will accumulate charge if the electrons are not allowed to escape from the surface via a conductive path. If there is no such path, the image formed by the SEM will be very poor. Charging can also lead to excessive heating of the sample, causing material degradation. Insulating and semiconducting materials, i.e. ceramics, polymers, and organics, should be coated with a conductive material to prevent surface charging. Usually, specimens are coated with either a metal or carbon.
For this laboratory, you will be provided with samples of anodic aluminum oxide. One of the samples is uncoated and one sputter-coated with a platinum/palladium alloy. Since aluminum oxide is electrically insulating, you should be able to see artifacts from the sample charging with the uncoated sample.
Note: SEM’s are vacuum instruments. One should always wear gloves when handling pieces that go inside the microscope vacuum chamber!
Materials:
PDMS stamps and masters
Au nanoparticles
ZnO nanorods on silicon
e BL patterned silicon
Hitachi 3500 SEM
Assembly of sample holder
Mounting the sample
Fastening the sample
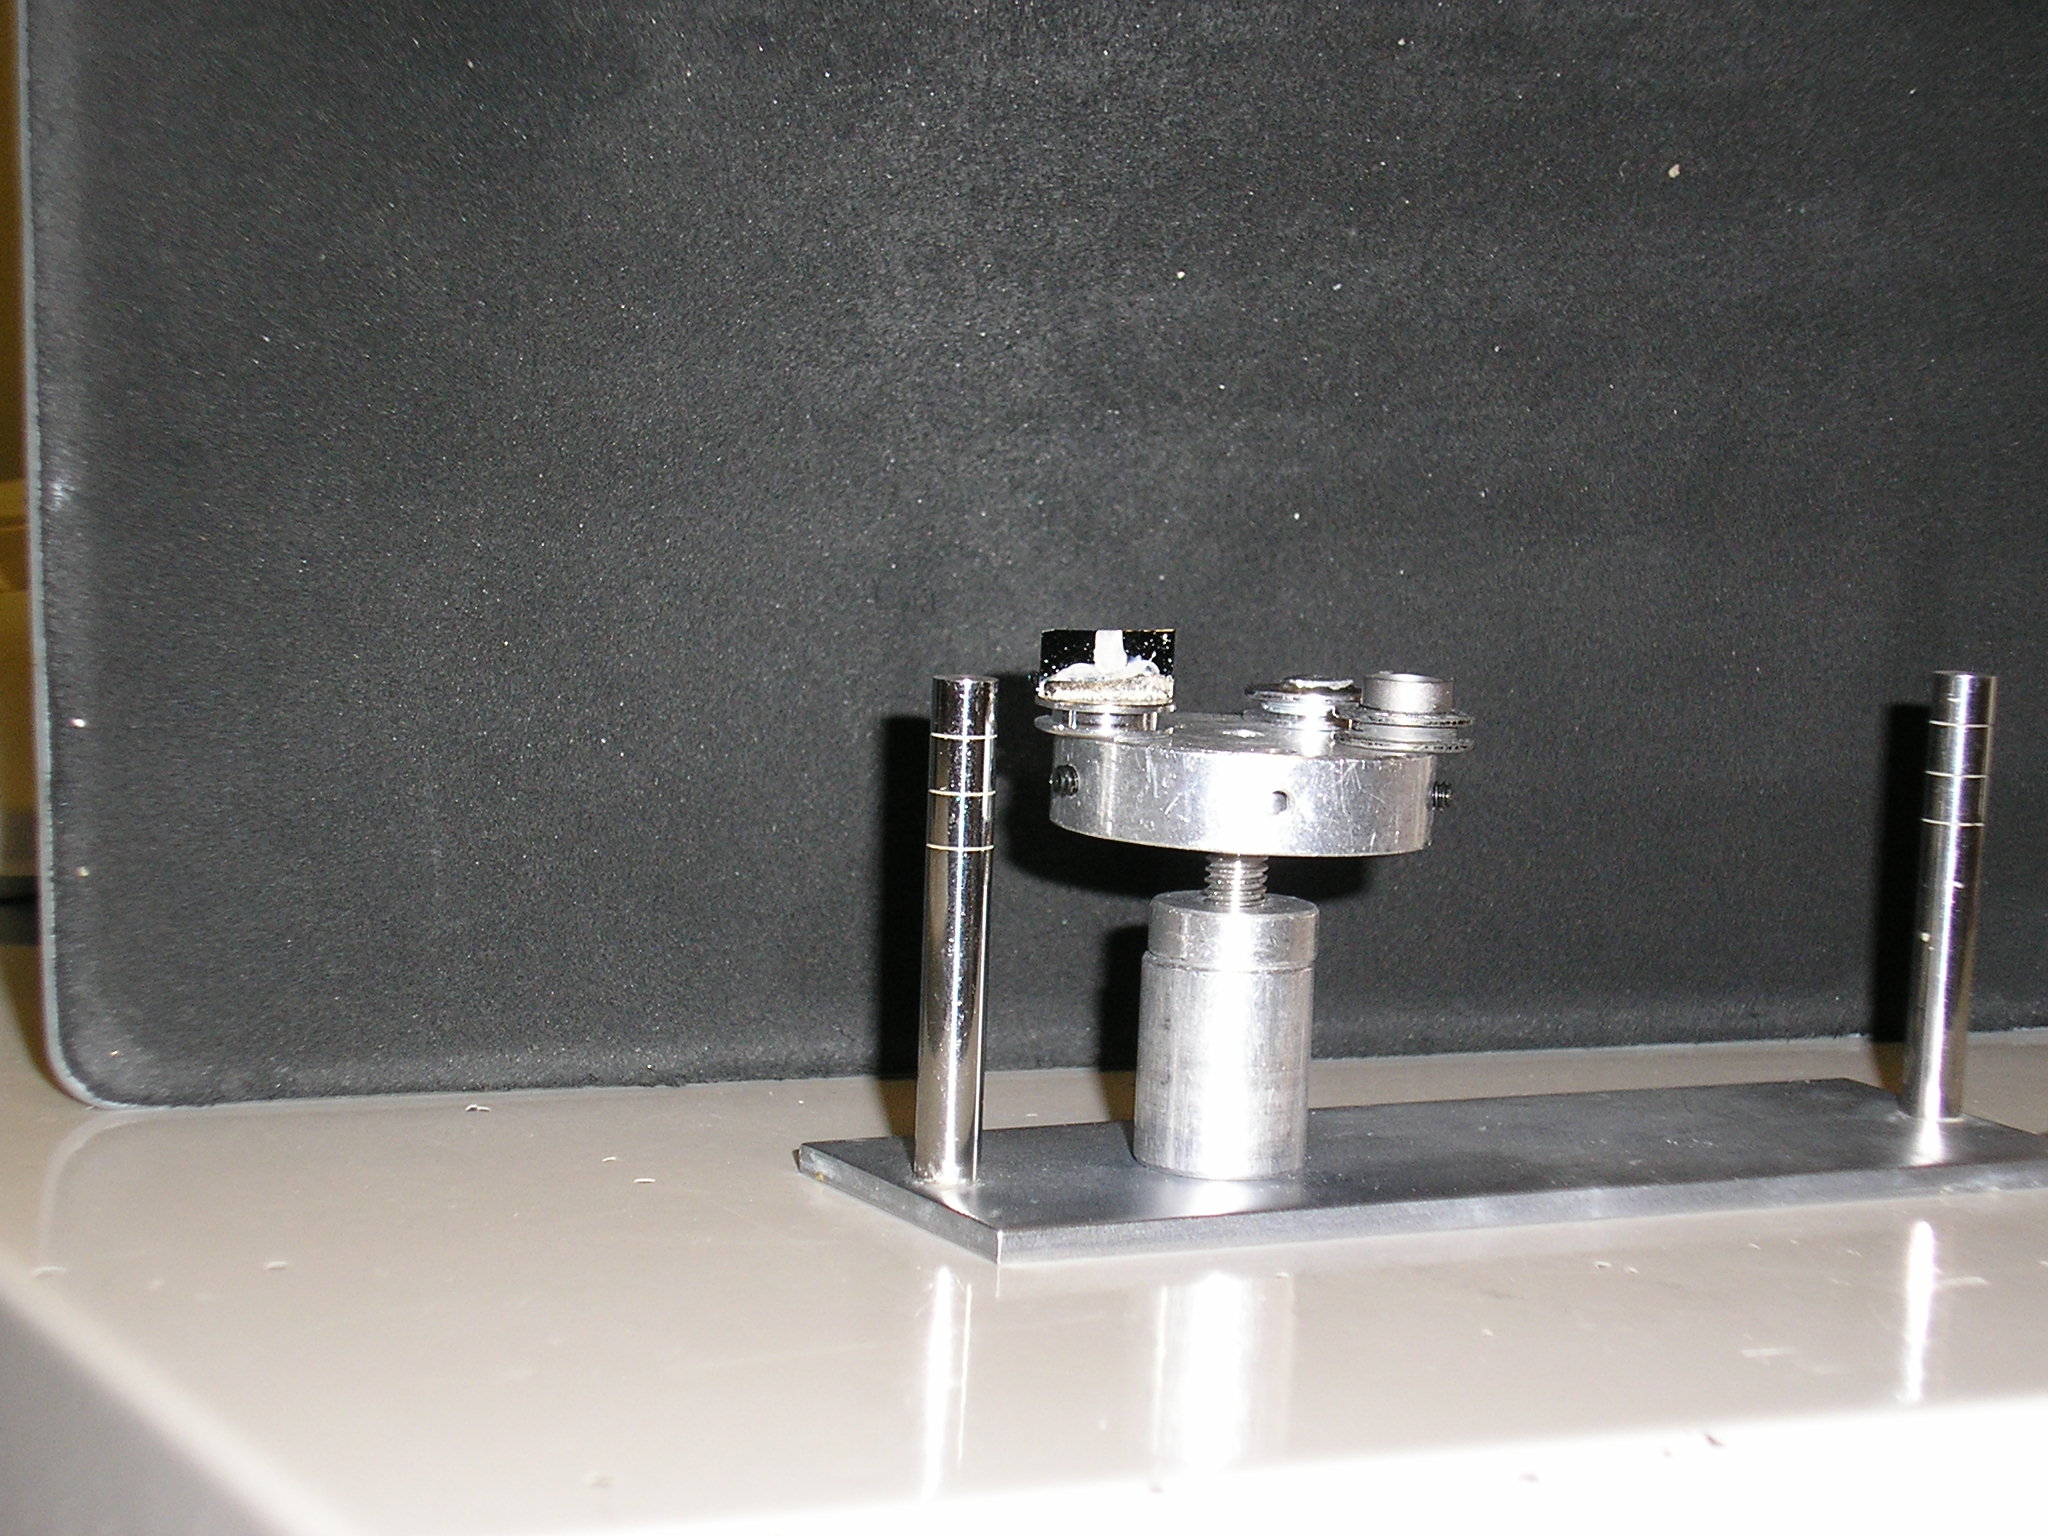
Checking the height
Adjusting the height
Starting up the Microscope
Even though SEM’s are expensive and technically advanced analytical tools, don’t let them be intimidating. For the SEM on which you will be working, there are only a few ways in which you can damage the scope. If you remember the following things you will be fine:
Always wear gloves when handling your sample and the SEM sample holders. This helps keep the vacuum system clean and avoids sample contamination.
Never vent the chamber without shutting off the high voltage! Doing this can cause the tungsten filament to rapidly oxidize and burn out.
When changing the accelerating voltage, follow the proper procedure and saturate the filament. To change the accelerating voltage: 1) Shut off the high voltage, 2) Change the voltage level, 3) Turn the voltage back on, 4) Re-saturate the filament.
Make sure that the z-height is adjusted correctly and the BSE detector is withdrawn when loading and unloading the sample. If the sample height and stage positions are not correct, you run the risk of hitting the objective lens or BSE detector. A height gauge is available to ensure that your sample is not too tall when the z-height is set to the position for loading and unloading.
Starting the SEM consists of applying an electrical potential across the electron gun and running current through the filament. The current causes the filament to heat up, and once enough energy is supplied, electrons are ejected from the filament toward the anode. The bias on the Wehnelt cylinder can be adjusted to control the amount of electrons leaving the electron gun assembly. The S-3500 software does this process automatically, but it is still important to understand what is going on in the electron gun. For operation instructions, we will refer to the S-3500 manual for standard operating procedures.